
HOME CARE
Home care and esthetician work are both essential aspects of personal grooming and self-care.
Home care is like being your own boss of cleanliness, while esthetician work is like being a magician for your face. Both involve keeping things in tip-top shape, just in different ways!
it is important to remember that 80% of achieving healthy, radiant skin is a result of consistent home care, while 20% is a result of professional treatments. This is known as the 80/20 Skincare Rule.
STEP 1: CLEANSE
Whether you have makeup on your face or not, you want to start your facial with a clean palette. This will ensure that you’re not locking in the dirt and products can sink in better.
A double cleanse is highly recommended: Start off with an oil based cleanser that will lift all the makeup and sebum on your face enabling you to wipe them away with a warm face cloth. Then proceed to use your usual cream or gel face wash. Cream based cleansers are more suitable for those with sensitive skin. Gel based cleansers are suitable for those with oily and acne-prone skin.
It is important to know your skin type to ensure that you are using the right products for you.
STEP 2: STEAM YOUR FACE
To steam your face at home there is no need to rush out and buy any fancy equipment. A good old bowl, some boiling water and a towel over your head will do the trick. You can even add some essential oils such as tea tree to the water for a calming and therapeutic experience. Tea tree is also known for its antibacterial properties!
Steaming is beneficial for your skin as it opens up your pores. Clogged pores are one of the biggest causes of breakouts so it’s important to deep clean them and remove all the dirt that could be trapped in there.
STEP 3: EXFOLIATE
Now that your pores are opened up, you can begin exfoliating. Exfoliation helps scrub away at the top layer of skin, removing dead skin cells and enabling products to be properly absorbed into your skin.
There are three types of exfoliation and it’s all down to your preference which one you may choose to use:
- The classic face scrub – usually containing sugar, salt, rice or groundnut kernel.
- Chemical/Acid Exfoliant – Trust us, it’s not as scary as it sounds! Use a cotton pad to run this over your face as you would do a toner.
- A powder exfoliant – These offer you the chance to mix them with a liquid of your choice – water, gel or oil and choose your own ratio of liquid to exfoliant.
Be careful when exfoliating as you don’t want to overdo it! It is important to remember that your skin is delicate and you don’t need to scrub too hard! If your exfoliator of choice is a scrub, go easy on the pressure as not to damage your skin!
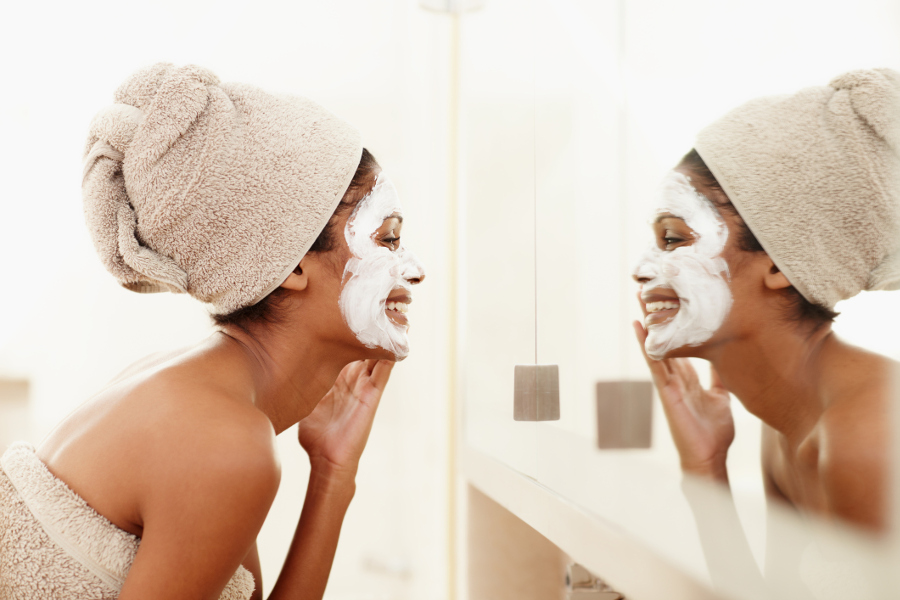
STEP 4: MASK
This is our favourite part of the facial! The mask you would use would depend on the issues you are hoping to tackle.
If you are looking to control oils then why not opt for a clay mask which effectively draws out the excess oil and impurities. Sheet masks, on the other hand, are great if you want to hydrate your skin, leaving a lasting glow and is great for calming the skin, reducing inflammation and redness.